Consider this an unconventional Mt. Whitney gear list. I’ll spare you a full gear breakdown because there are plenty of other great sources that can help point you in the right direction – see here, here, etc. This list outlines what we found TRULY essential and what items you can ditch or leave in the car. Your back and legs will thank you later, so let’s get right to it!
ESSENTIALS:
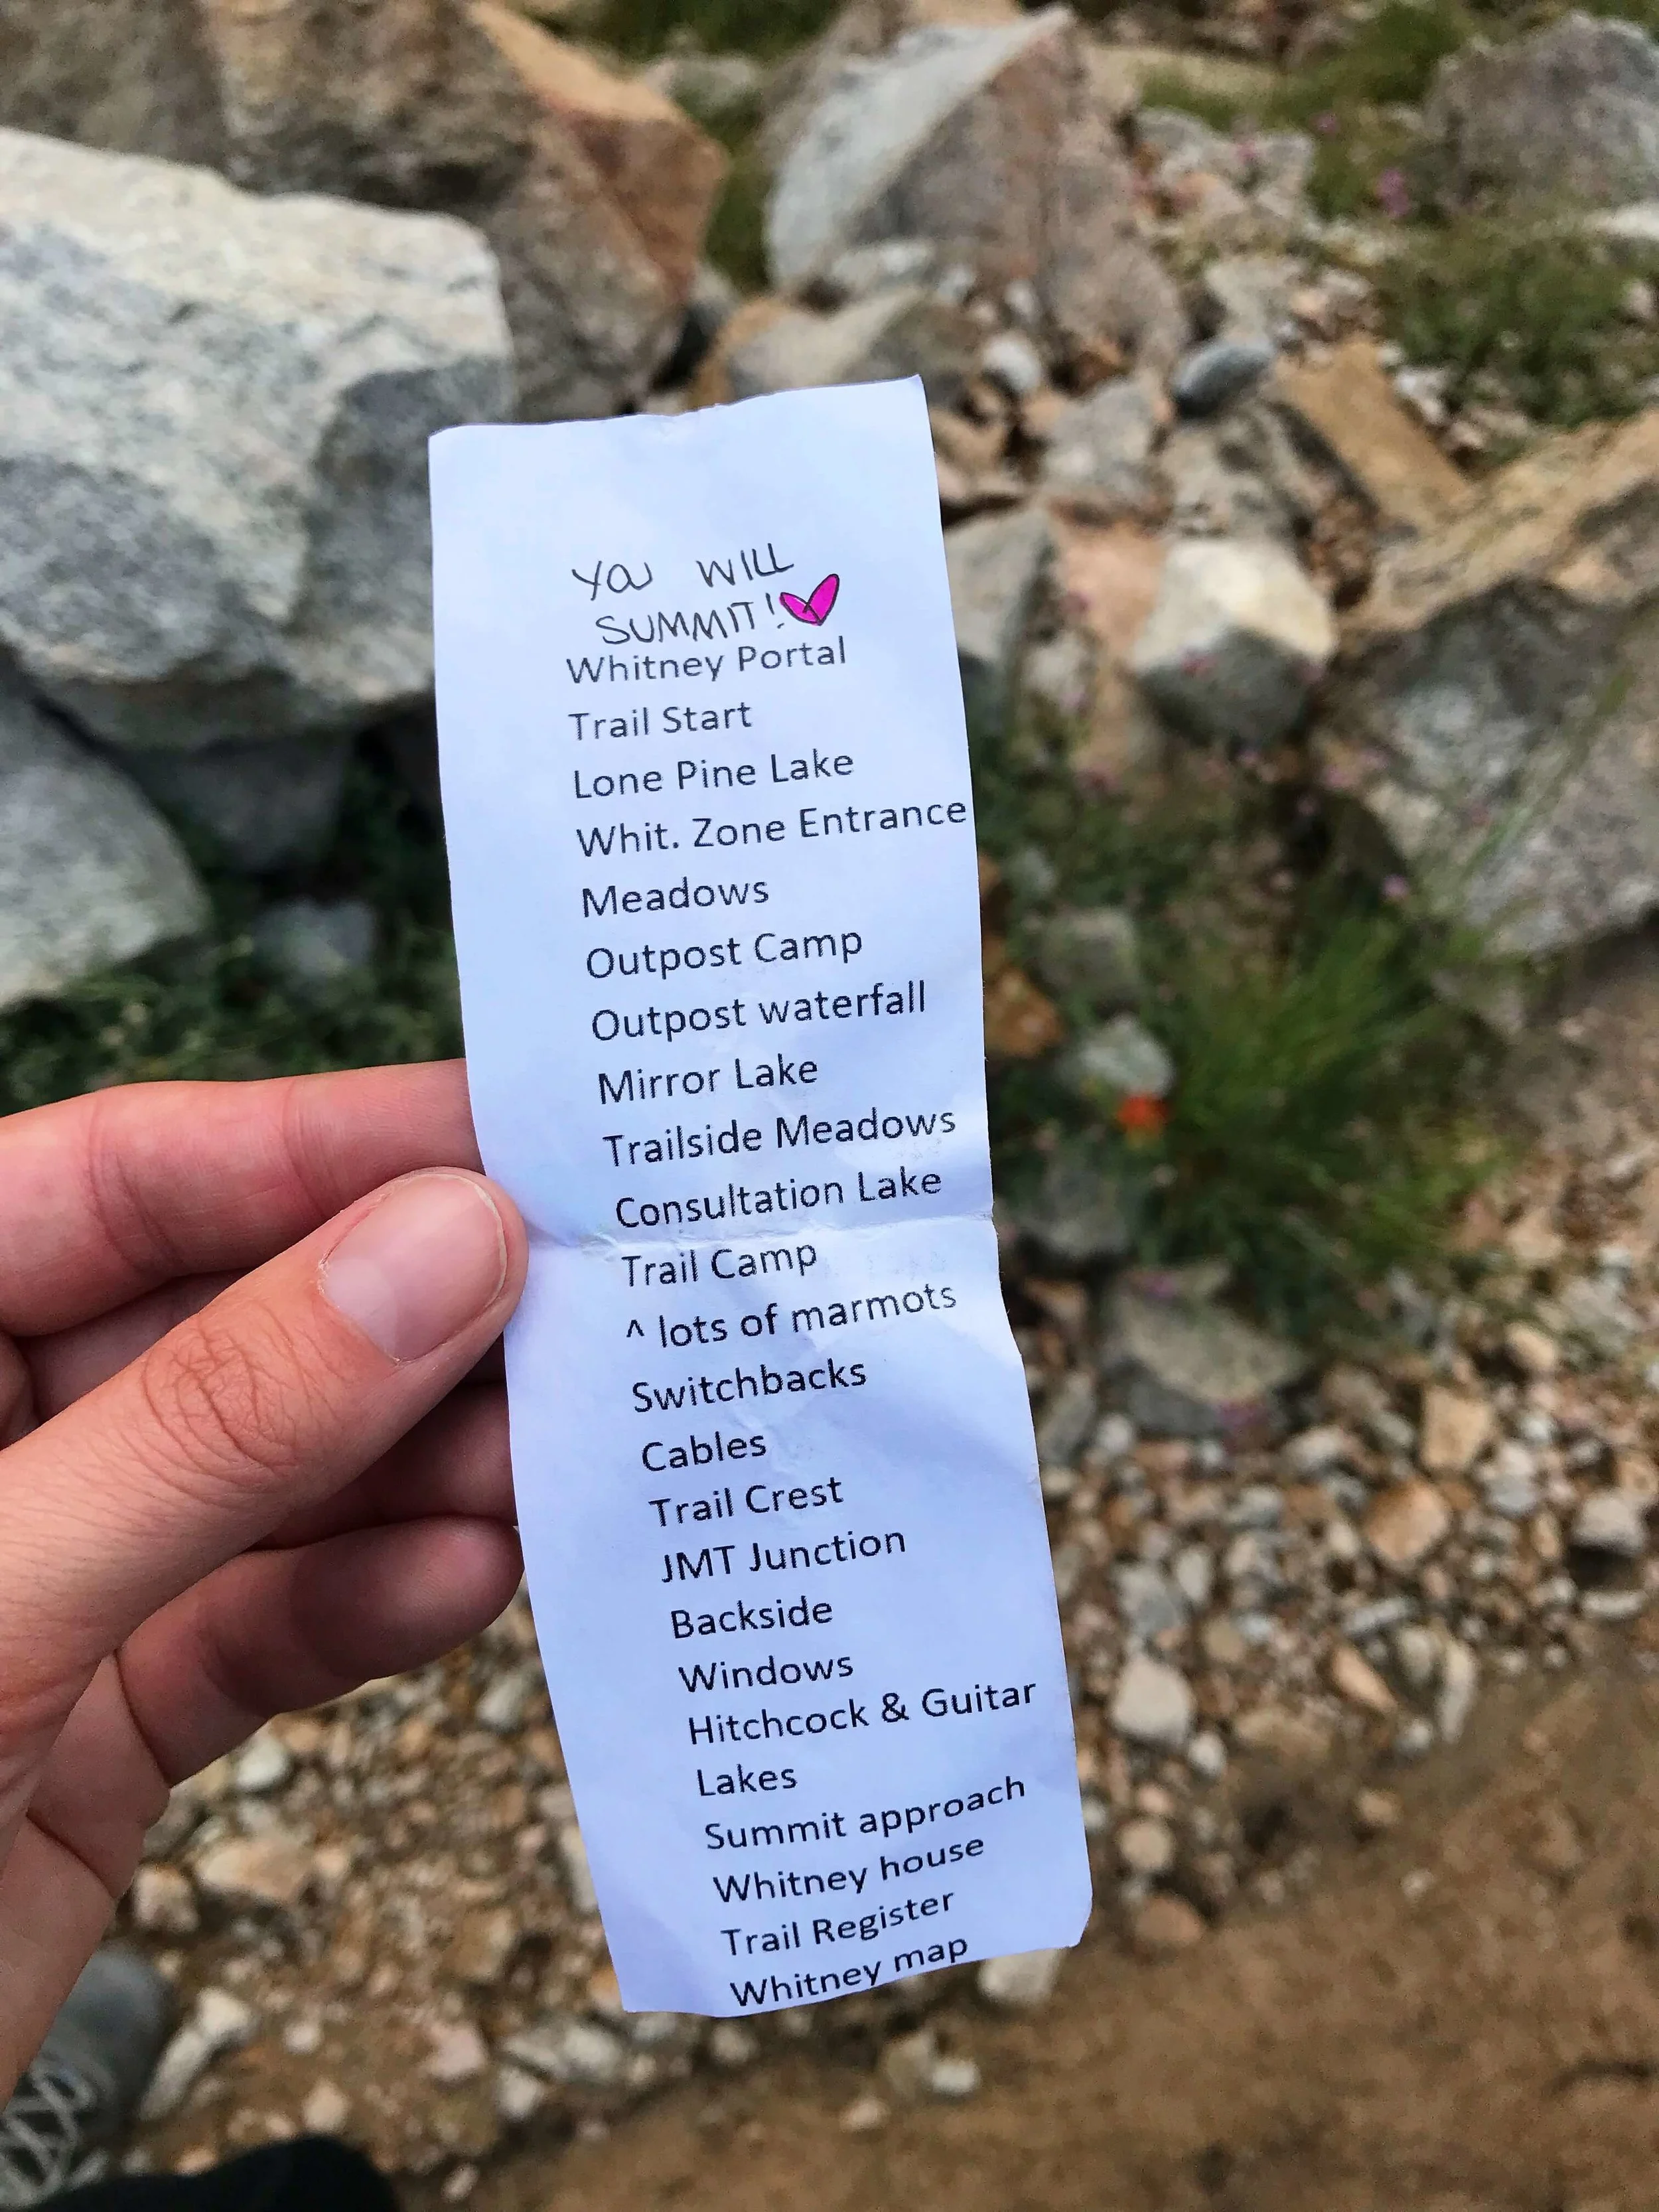
LANDMARK LIST: THIS little list became our most important item and a fan-favorite of our group. I’m a hyper-organized person with a terrible sense of direction, so the more assurances that I have I’m going the right way, the better I feel. I had heavily researched the trail ahead of time and knew that we’d spend half our time on the trail in the dark, so I designed this little list to assure us all that we were on the right track and how to pace ourselves mileage-wise (there and back). I made one per hiking pair; everyone ended up loving it and the positive affirmation that we would summit was a friendly encouragement whenever we looked at the list.
TOE SOCKS: These socks deserve a spot on the top of this list because they were LIFE ALTERING. My feet are THE worst in that I’m constantly getting blisters, and always between my toes. I’ve tried so many different insoles, sock liners, and shoes – but these were IT. Bless you REI woman, because you were 100% right that these socks were the answer to all my problems. If you’ve read about our Whitney experience, you know that we were having to run down the switchbacks on flooded trails which meant completely soaked boots and socks – and these babies saved my life. I’m a toe sock convert. I’ll hike with these only for the rest of my days.

TREKKING POLES: Some hikers tackle Mt. Whitney without trekking poles, but I personally found them a necessity. They’re crucial to saving your knees and helping to find footing in the dark at the start of the hike. The best part, they’re only $20 and you can order them on Amazon Prime!! The cheapest poles available at REI were $70/per set, but these were SO much better in both quality and price. This set comes with 4 attachments for different terrain and I loved that the grips were soft cork. We sadly ended up ditching these on our descent because we didn’t want to risk them acting as a possible vector for lightening in the gnarly storm we encountered. But, at only $20, we couldn’t be too sad about it and we knew they went to a good new home with someone else.


ACETAZOLAMIDE, AMS Prescription: I’m susceptible to Acute Mountain Sickness (AMS), which essentially means I start to feel nauseous and dizzy after I reach over 10K feet in elevation. Everyone reacts to altitude differently and the symptoms of AMS often vary by person. For those who are susceptible and have dreams of peak bagging, prescription medication can make our dreams possible! The most common brand-name prescription is Diamox, but I obtained a generic prescription through my doctor that worked perfectly to ebb my symptoms. However, be sure you’re drinking LOTS of water to compensate as Acetazolamide is a diuretic. You should be drinking lots of water anyways, both to compensate for AMS pills and to hydrate your body for the climb!

FOOD: The best advice I received before hiking Whitney was to pack foods that my body would WANT to eat. It’s important to know your body before taking on any big physical challenge and I know I tend to lose my appetite when I’m heavily exerting myself. This meant I packed foods that were going to be easy to consume on the go and that wouldn’t require much chewing or prep time.
Trader Joe’s Fruit Sauce Crushers: I kept one at all times in the side pocket of my backpack so it was easy to grab while on the move. The quick burst of natural sugar was always what I needed.
Sour Patch Kids: Let’s be honest, they’re not healthy – but they really help generate saliva. That might be TMI, but at high elevations it really helps. They’re also a deliciously welcome sugar kick.
Gu: These are essential. A Whitney climb is estimated to burn around +6K calories, so I would keep these in my front zipper pockets of my pack and pull out one about every other hour.
You can see more of what I packed in the photo below, just remember – every food list will be different! What matters most is what YOUR body will want and need.

CHAPSTICK: This is non-negotiable, YA NEED IT. Or else your lips will chap and you’ll find yourself craving chapstick at the end of the hike more than a hot shower.
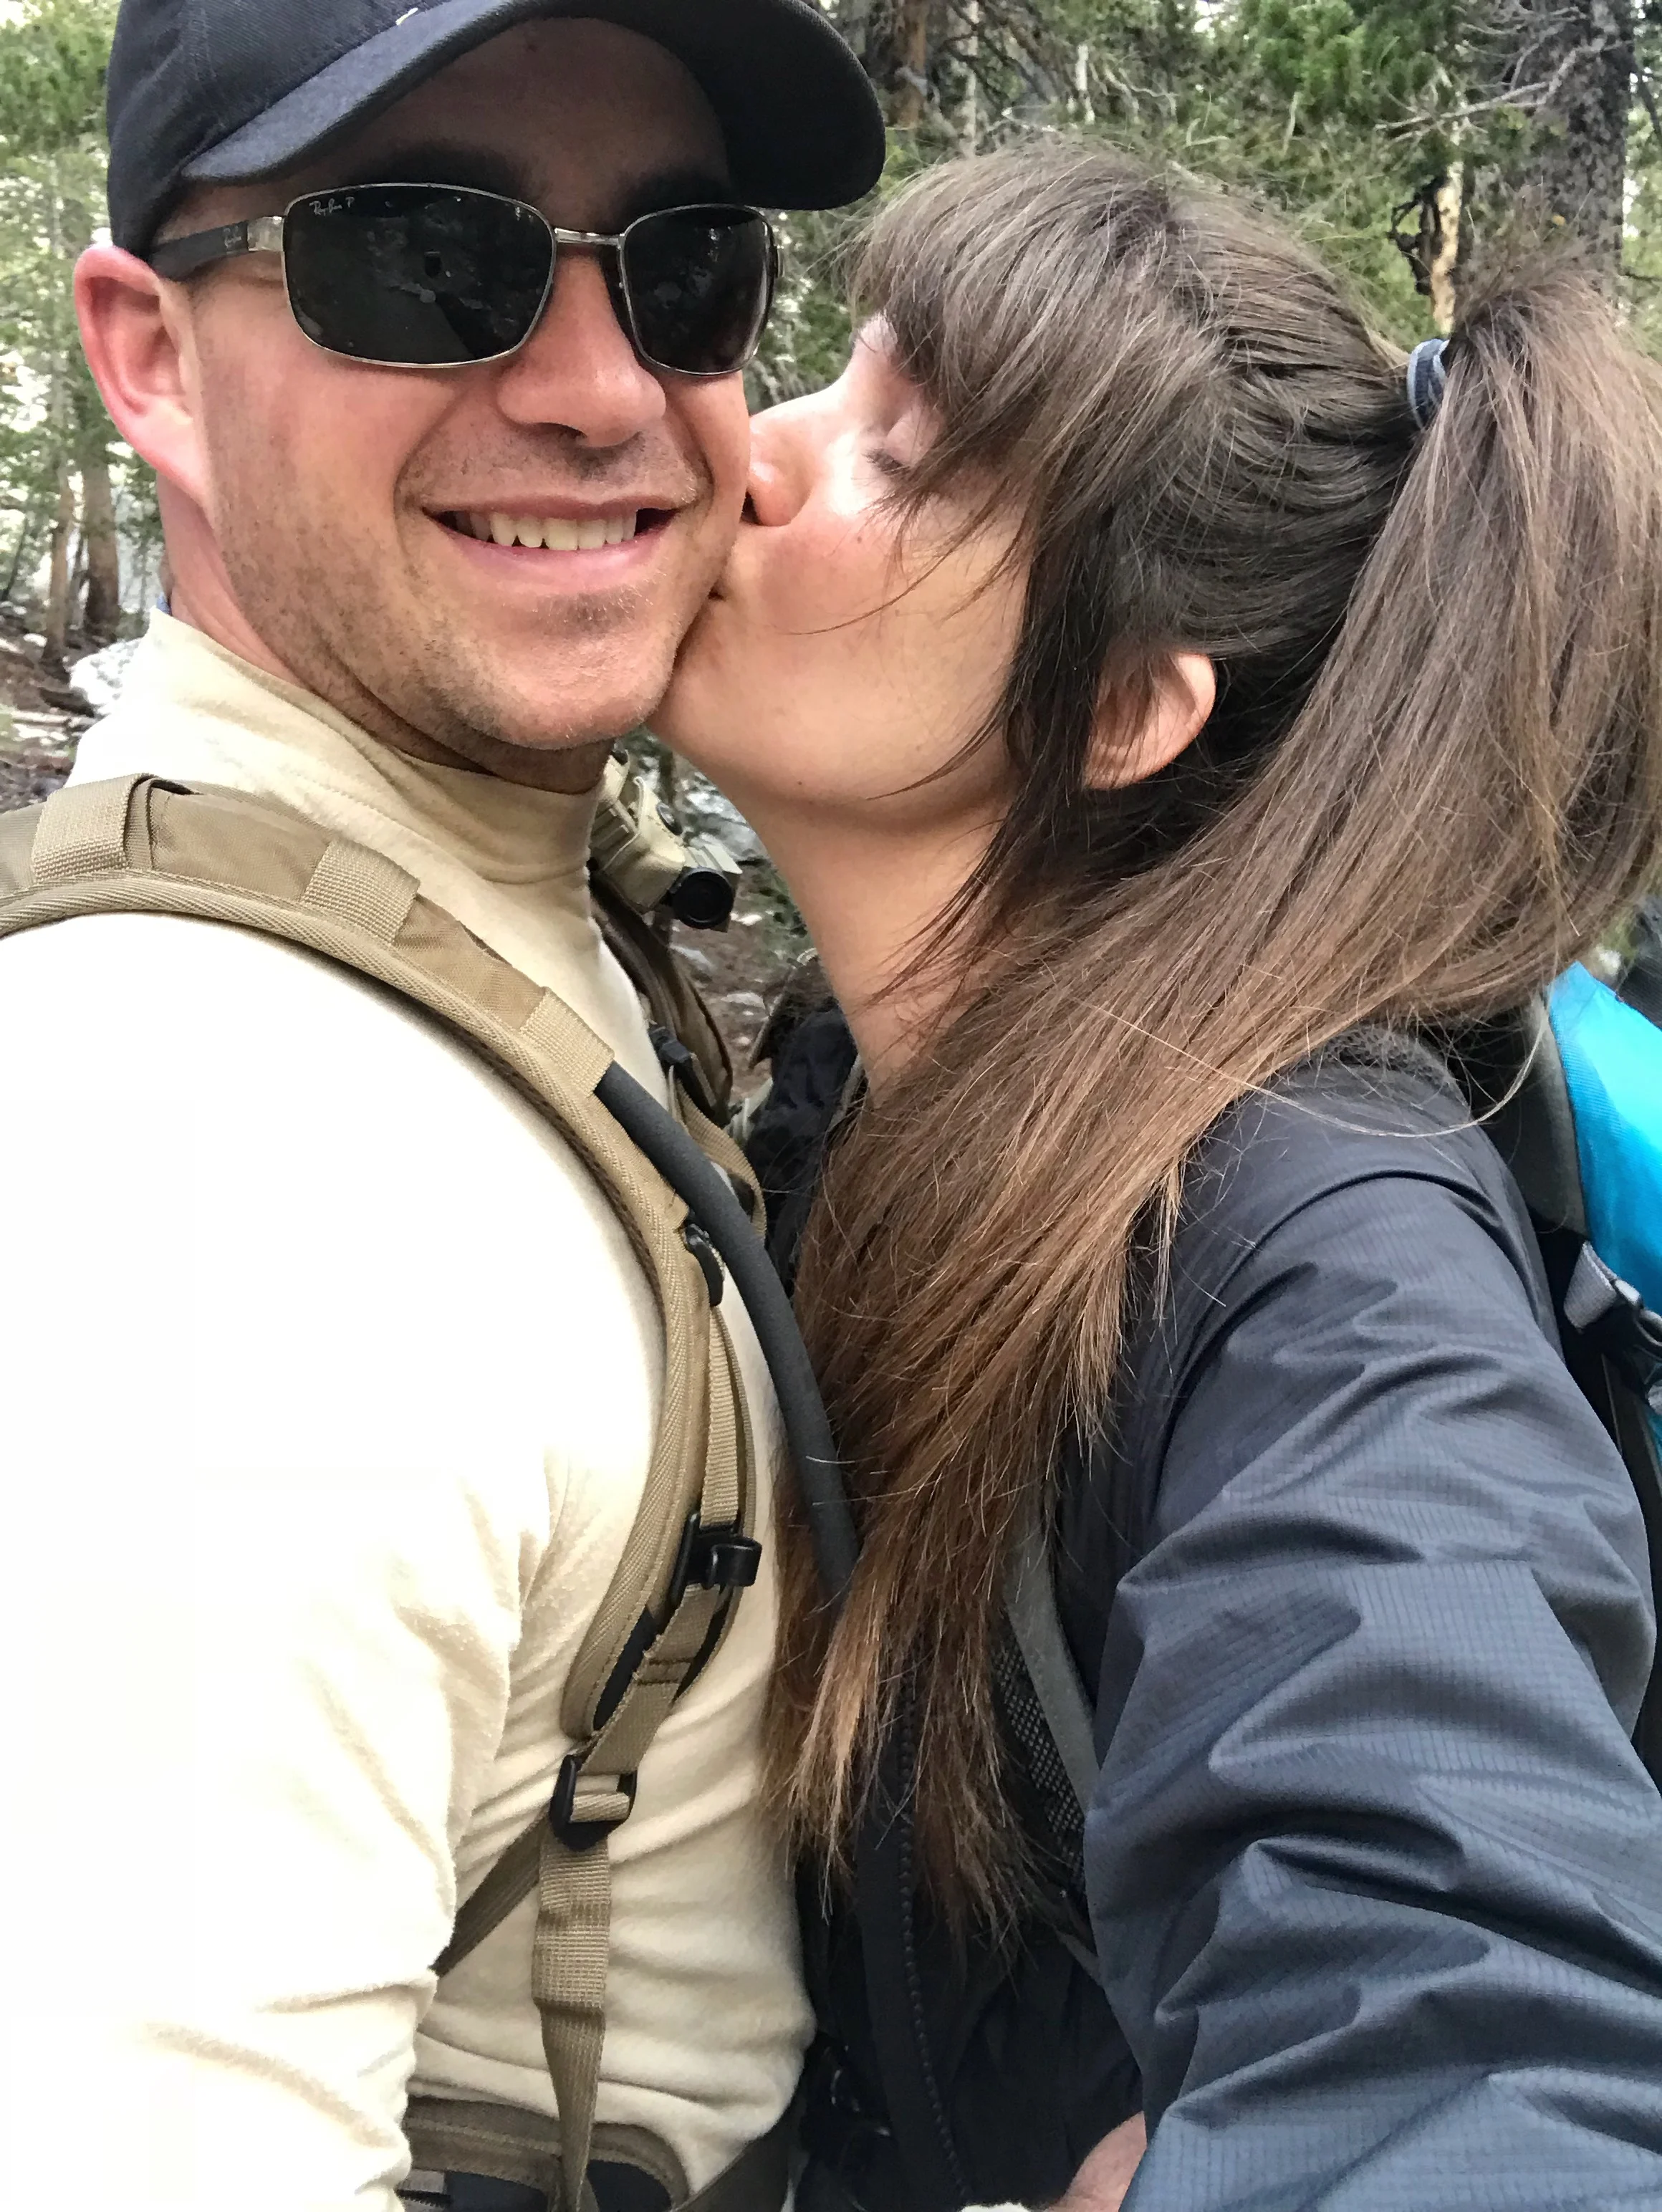
TRAIL MAGIC: LOVE WHO YOU’RE HIKING WITH!!! I can’t stress enough how important this one is. It’s so important to know and trust your hiking partners. Your hiking partners should be able to recognize your limits and should know when/how to support you. It’s important to know you can stop to take a break without judgement, ask for help when you need it, and be able to let them know you need to slow down or aren’t feeling well. You need a partner who will stay with you and who will be prepared to turn around and help you back down if needed (and vice-versa).

BE NICE! Be friendly and encouraging to your fellow hikers!! Share snacks and smiles! Your trip will be SO much more memorable for it and these shared memories will stay with you forever. We encountered our fair share of negative people on the trail (there’s always a handful), but the happy and positive faces we met along the way VASTLY OUTWEIGHED the negative. Spread that magic~*


WHAT TO DITCH:
A DSLR/HEAVY CAMERA EQUIPMENT: I love my DSLR and have invested heavily into it so that I can capture memories of all my favorite adventures; BUT – this is one adventure where I could have done without it. My DLSR added 1.7lbs to my pack, plus the space that the waterproof protector absorbed. I found myself reaching for my iPhone out of convenience more often than bothering to get my camera in and out of my pack. I also worried about water damage and humidity seeping into my camera the whole dash down the switchbacks due to the severe weather we hit (even with the waterproofing sleeve!).
I love DSLRs, but it’s not worth with weight and stress on this hike. The iPhone honestly takes great photos and portrait mode can suffice to upgrade your shot. (Some of the only DSLR shots of the trip are below.)


Rain Pants: While rain pants are on nearly every Mt. Whitney packing list, this is a $45 purchase I could have done without. I had rain pants in my pack and didn’t have the time to pull them out when the sever weather hit because we were more concerned with descending ASAP as opposed to stopping to put on rain pants. We didn’t stop on our descent through all the inclement weather, so the rain pants never even made their way out of my pack. Once the rain/hail/sleet/flooding subsided, my leggings were able to dry quickly enough.
The one exception I would note where rain pants might be necessary would be if snow was still present on the summit and you were anticipating glissading down the mountain. My sister also wore zip-off pants and found these to be a great compromise for rain pants!
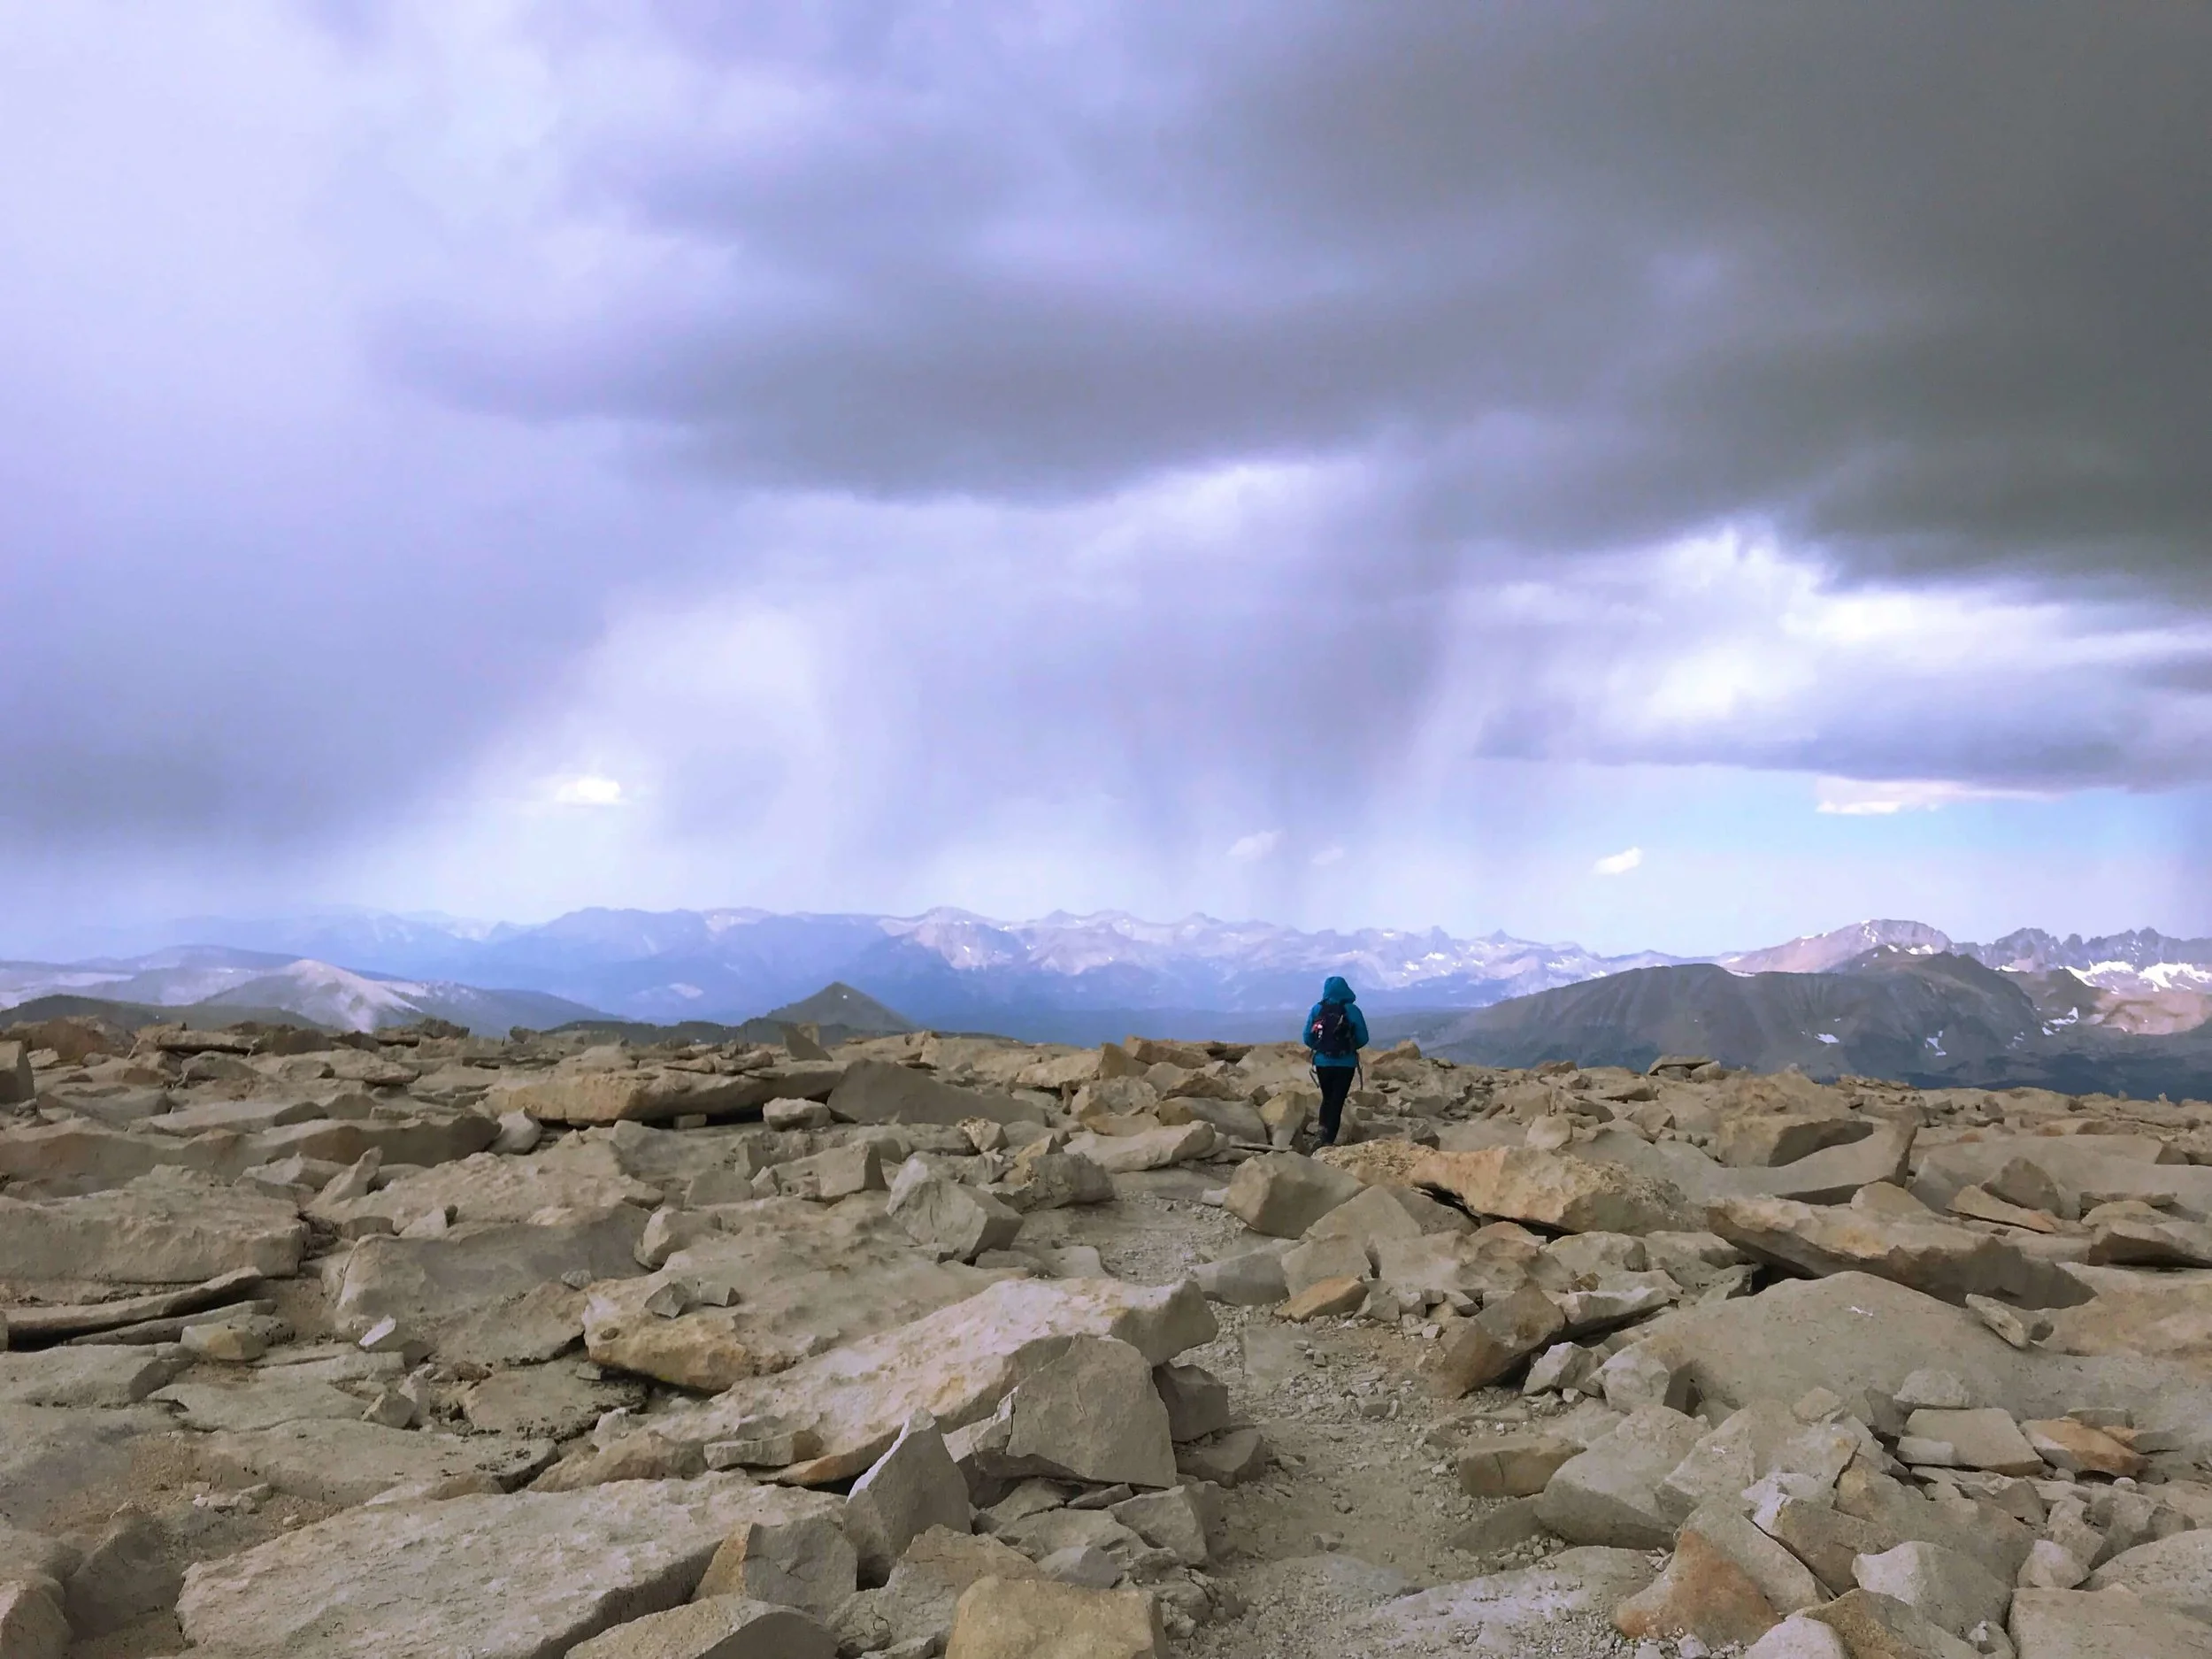
Not setting a turn-around time: While I’m still EXTREMELY thankful that all of our group were able to summit, we likely didn’t make the safest call by deciding to continue our summit. With weather in the forecast, the Ranger had told our group the day prior that we would need to summit by 10am in order to safely descend before any possible weather hit.
By the time we hit trail crest, we knew we were behind schedule and decided to continue anyways. It’s hard to turn around in the name of safety when you’re SO close to a goal you’ve been working so hard to achieve. While I’m thankful we all made it, the right and safest call would have been to set a turn-around time for our group so that we could all descend safely before inclement weather hit.

View from the top of Mt. Whitney overlooking the valley below. Photo by: Jay Marin
That’s it, short and sweet! The most important thing to keep in mind while you’re prepping for Whitney is that no two climbs are EVER the same. Trust your instinct, know your limits, love your fellow hikers, and spread that trail magic sun up to sun down.
Happy rambles always,
Leah

Photo by: Laken Bose


